How To

Twitter: the best networking event around

There are a lot of analogies we use when trying to help people understand social tools.  One of our all-time favourites for Twitter is that you need to think of it as networking. So, let’s compare - in-person networking versus Twitter.

In-person networking events

  • You meet new people, introduce yourself, and chit chat.
  • People you’ve met in the past introduce you to new people they think you would benefit from knowing.
  • People who know you sing your praises in a manor that is far more effective than if you did it yourself.
  • When you see someone you’ve met at a previous event, you reinforce the relationship by chatting with them again.
  • You don’t start any conversations with calls to actions or by putting news releases or shouting discounts and sales at people.

Twitter

See above list, but with a few advantages, including (but not limited to):

  • A smaller time commitment,
  • No travel time OR gas costs,
  • Log in when it is convenient for your schedule,
  • Tweet in line at the grocery store, in your PJs, from the cottage or anywhere else the mood strikes.

Conclusion

If you think of Twitter and the interactions you have on Twitter as similar to those you have at a networking event, you will start to build and grow relationships that can turn into beneficial partnerships and sales.  If you think of Twitter as place to broadcast sales, you may get some pickup, but the true “magic” of twitter may be escaping you.

If you aren’t sure where to start, start with 10-minutes a day. If you go to an in-person networking event, connect with people you met who have Twitter accounts and say hi.  You just reinforced that initial meeting and opened the door to many new conversations without having to wait for the next event you both happen to be at. Don’t think you need to divulge all your personal information, it’s more about being personable. And please say hi to us: @larawellman, @Karen_C_Wilson and @WellmanWilson!

Have you had any great networking experiences on Twitter?

Countdown to Timeline: You can do it!

Timeline for business pages will no longer be an option as of tomorrow - March 30.  Many have been putting off switching to the new look because they’re worried or overwhelmed with what’s involved.  We’re here to remind you, you can do it and we’re here to help you through the process.

Step one : profile image

This image is the one that will appear next to your status updates and on mobile devices (Timeline doesn’t show up on them yet) so pick something that best represents you.  Most of the time, that would be your logo.

Step two: cover image

This is an opportunity to showcase what you do or who you are. The image can’t include any calls to action or your URL so instead think of it as an opportunity to connect with your audience and showcase what you do.

There are many designers who are helping people create cover photos for their Facebook pages that you can hire to help you.  A few include (we are in no way affiliated to them):

- Sweet Smart Designs

- Rake Consulting

- CL Buchanan Photography and Design

If you’re going to do it yourself, the dimensions and rules for the Timeline cover image are all outlined in our previous post about Timeline. 

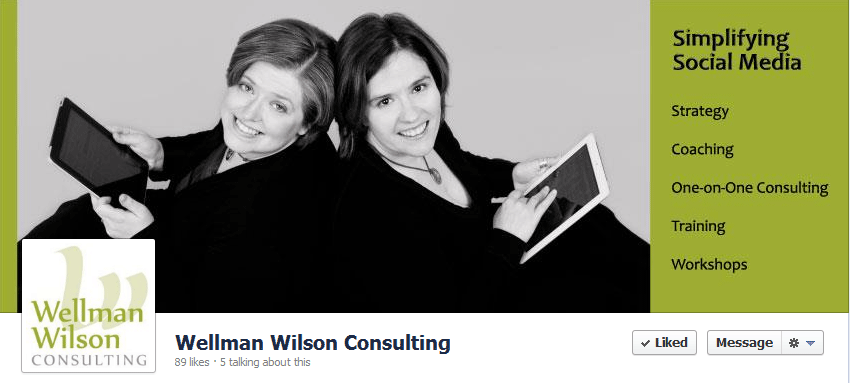
We used our photo with some simple keywords on what we do.

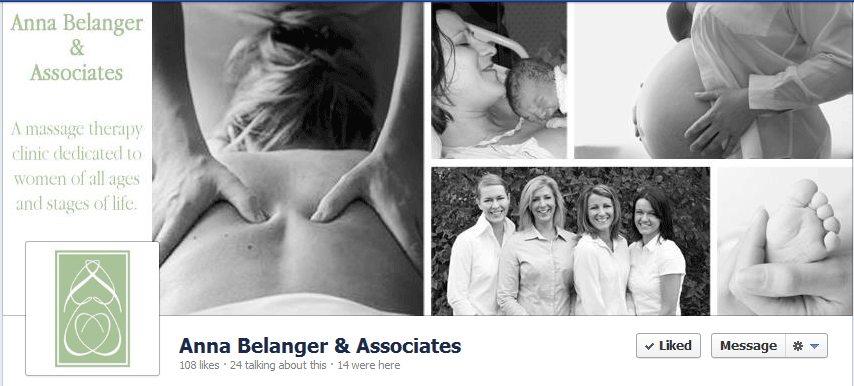
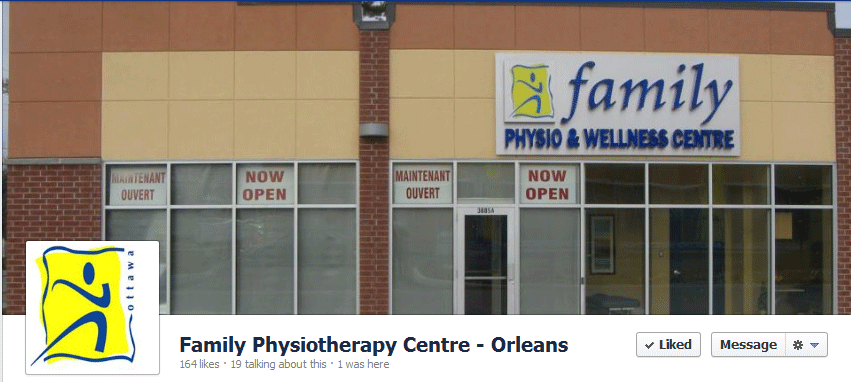
Here are a few other examples:

It doesn’t need to be complicated.

Step three: Tabs/Applications

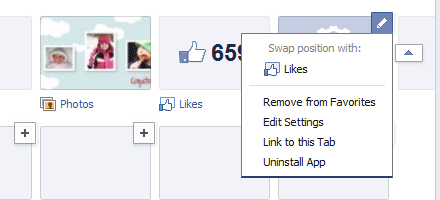
You can feature up to four tabs right under your cover image.  You can decide the order really easily by clicking on the triangle to the right of the tabs and then clicking on the edit button on the individual tabs to decide the order you would like.  We’ll be writing more tutorials on this in the coming weeks!

It’s really not hard - you can do it! And when you do, leave us a comment so we can come and see!

Have you updated your page to Timeline yet?

Facebook: Focus on a topic with interest lists

There’s a lot of noise on Facebook. There’s also too much content for everything to show up in your stream let alone you noticing everything that goes by.

Facebook has recently introduced interests lists that can help you filter through all the noise and drill down to the content you’re really looking for.

What are they?

Interest lists are groupings of people and pages. When you select a list your main newsfeed will only have updates from those in the list.

You can create your own lists on whatever subject you would like, or you can subscribe to other people’s lists.

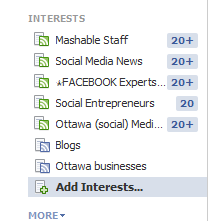
I’ve created several lists:

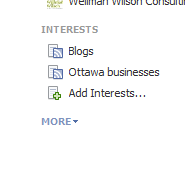
Ottawa businesses

Blogs

Resources for Entrepreneurs

Where do I find them?

To the left of your newsfeed, at the bottom.

How can I find lists to follow?

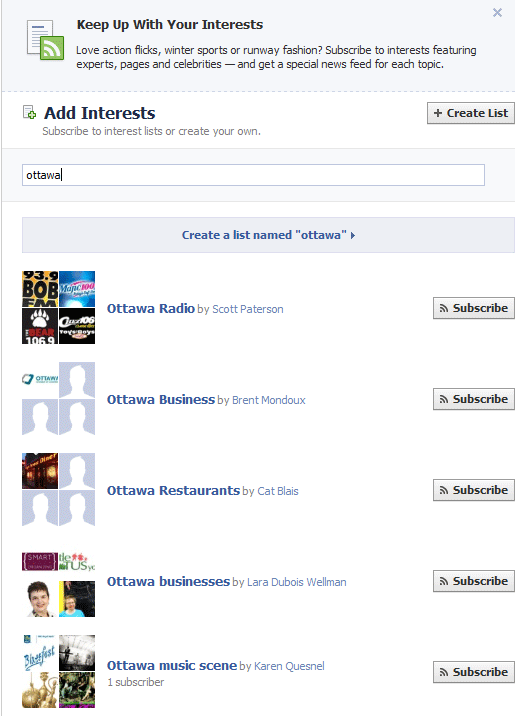
Select Add Interests from your left hand menu.

Enter keywords in the search box, then simply click subscribe on any lists you find interesting.

How do I create lists?

From the same screen select +create list

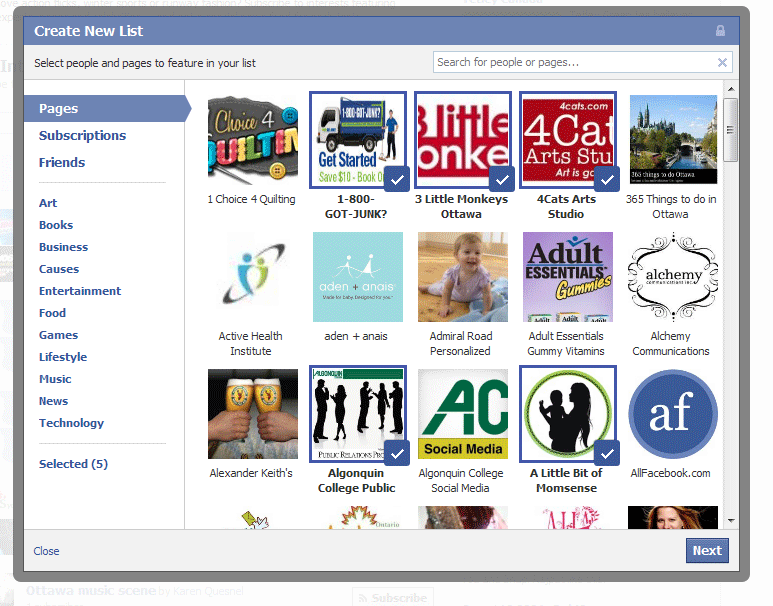
It will pop up a window where you can select people from your friends, pages you follow or are subscribed to, or allow you to search Facebook with keywords.

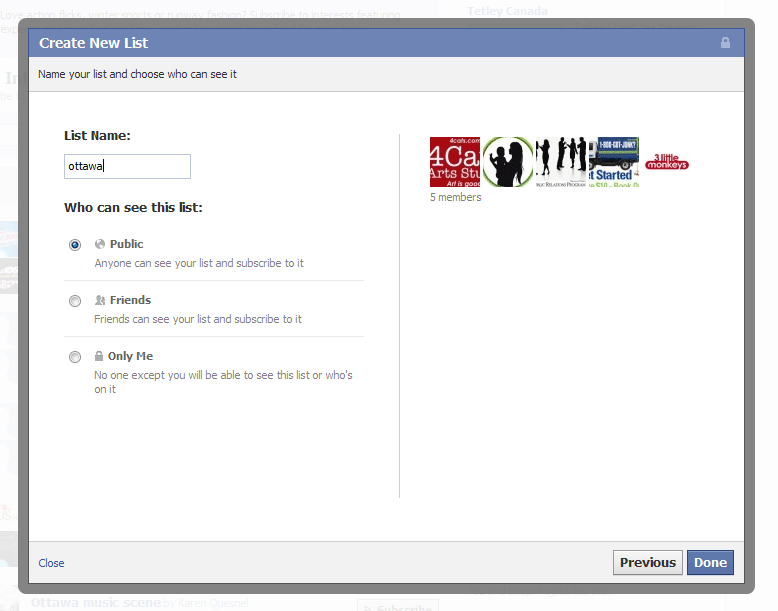
Once you’ve chosen what/who you’d like in the list click next and choose a name for your list.

Then you are done.  Your lists and all lists you subscribed to will show up at the bottom left of your newsfeed screen with your lists in blue and other people’s lists in green.

Have you created any interest lists? Share the link in the comments!